


















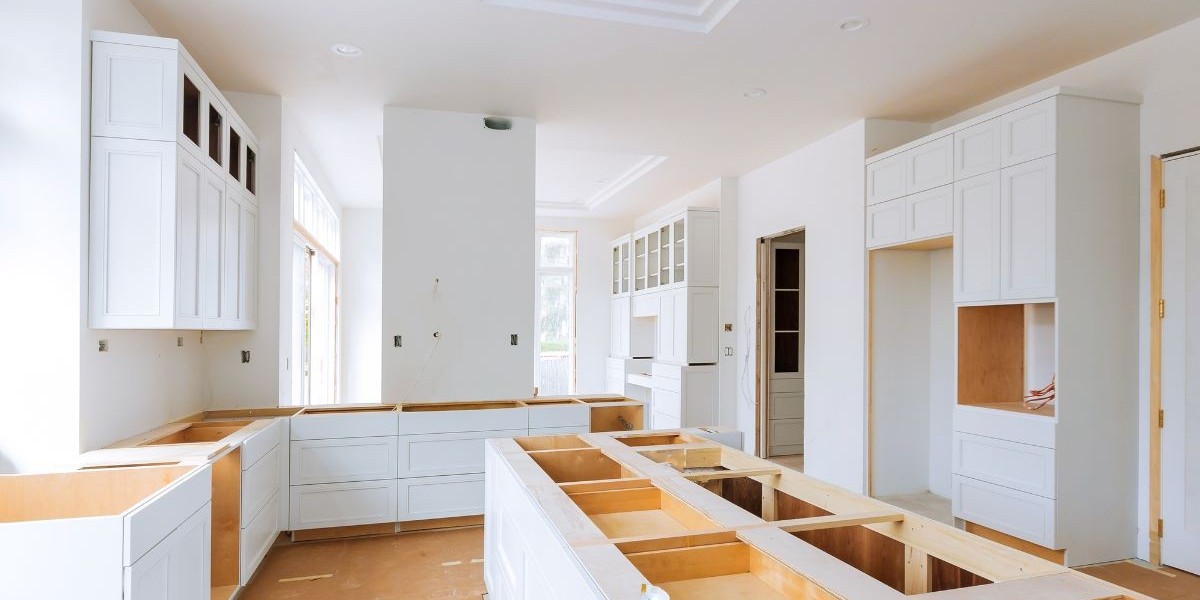

A fresh coat or a professional refinish can make your kitchen feel brand-new — but the real secret to a flawless cabinet job is the preparation you do before the painters ever open a can. This guide walks you through everything to do — and what to leave to the pros — so your cabinet painting or refinishing goes faster, cleaner, and with a better final result. Whether you plan to hire a kitchen cabinet painter in Stillwater OK or tackle light prep yourself, these steps save time, money, and headaches.
Why preparation matters more than you think
Good prep creates a durable finish. Skipping steps like degreasing, removing hardware, or stabilizing loose doors leads to peeling, brush marks, or uneven coverage. Painters can fix many problems, but every unexpected repair costs time and money. Preparing the space also protects the rest of your home — fewer splatters, less dust, and a smoother workflow for the crew.
Before the crew arrives: a practical pre-job checklist
Follow this list to make the job run like clockwork. Most of these tasks are easy and only take a few hours, but they make a big difference in quality and cost.
1. Empty cabinets and drawers
Remove everything from the cabinets and drawers you want painted or refinished. That includes food, small appliances, glassware, drawer liners, and sticky shelf pads. Put items in labeled boxes so you can restore order quickly when the job finishes. If moving everything out is impossible, discuss partial-emptying with your contractor — some painters will at least ask that top shelves be cleared.
2. Remove hardware (recommended)
Take off knobs, pulls, hinges, and catches whenever possible. Label each piece and tape it inside the corresponding door or place it in a labeled zip-top bag (mark the door/drawer name on the bag). This speeds up removal and reinstallation and prevents accidental overspray. If you prefer the contractor handle it, confirm whether removal and reinstallation are included in the bid — some painters charge a small fee for removal and re-hanging.
3. Declutter countertops and clear the work zone
Clear counters of appliances and personal items. Move fragile objects and decor to another room. If you have a kitchen island, clear both sides so painters can move around freely. The less clutter, the faster the crew can cover, sand, and paint.
4. Protect nearby surfaces
Although professionals use drop cloths and masking, you can help by removing floor mats, fragile rugs, and anything that could trap dust. If your refrigerator, stove, or other large appliances are near the cabinets, make sure they’re clean and accessible for covering. For safety, unplug small countertop appliances and tape cords out of the way.
5. Deep clean cabinet faces and interiors
Grease and cooking residue prevent paint from bonding. Wipe cabinet faces and interiors with a degreasing cleaner — a commercial kitchen degreaser, or a mild solution you’re comfortable with. Pay special attention to areas near the stove, above the sink, and around handles where hand oil builds up. Let cabinets dry fully before painting begins.
6. Make small repairs beforehand
Tighten loose screws, replace broken or missing hardware, and note any larger repairs (like delaminating veneers or badly warped doors) for the contractor. Fixing obvious structural problems ahead of time speeds the project and reduces surprises. For larger carpentry issues, get a quote from the cabinet painter in Stillwater OK or a carpenter — some painters handle minor repairs, others subcontract the work.
7. Consider whether doors and drawers should be removed
Decide with your contractor if doors and drawers will be painted in place, spray-finished onsite, or removed and sprayed in a shop (often called “off-site spraying”). Removing components yields the most factory-like finish and reduces risk of drips — but it requires space for safe storage and additional time for reinstallation. If the team will remove parts, clear an area (garage or driveway) where they can lay out and cure the pieces.
8. Label everything
If doors and drawers come off, have a consistent labeling system (numbers or a grid). Place each hinge and screw set into a bag labeled with the door number and tape it to the corresponding door. This step avoids mismatched doors and keeps reassembly fast and accurate.
9. Plan for dust control and ventilation
Sanding creates dust. Ask whether the contractor uses vacuum sanding or containment systems. Open windows when weather permits and plan to keep pets and small children away from the work area — both for safety and to prevent dust from spreading.
10. Protect your schedule and expectations
Confirm the project timeline, daily start/stop times, and where the crew will park. Decide on a communication plan: who will be your point of contact for questions or change orders? If you’ll be living in the house during the refinish, ask about daily cleanup procedures and whether work areas will be sealed off overnight.
Preparing cabinets “inside & out” — the technical side
When experts say they’ll paint cabinets “inside and out,” here’s what that usually includes and what you should know.
Interior surfaces
Clean and degrease interiors.
Lightly sand or degloss surfaces for proper adhesion (electric or hand sanding by pros with dust extraction).
Mask or remove shelves if they won’t be painted.
If you want interiors painted a different color, confirm with your contractor and label accordingly.
Exterior faces, edges, and trim
Repair chips, gouges, and veneer lifts with wood filler or epoxy and sand smooth.
Fill nail holes and seams, then sand and prime.
Block-stain and prime knots or tannin-rich woods to prevent bleed-through.
Apply cabinet-grade primer, then two finish coats of durable enamel or conversion varnish, depending on the finish specified.
Finish options and how your prep affects them
Brush-and-roller finish: less expensive, slightly more texture. Minimal removal of doors may be needed.
Spray-finish: smooth, factory-like surface. Typically requires doors and drawers to be removed and painted off-site or in a contained spray booth.
Glazing or distressing: requires extra drying time and protection of surrounding surfaces.
Real-world case study — a Stillwater kitchen refinished by Mancini Custom Painting
The Ramirez family in Stillwater had oak cabinets that showed ten years of wear: sticky finish, worn edges, and dated honey color. They wanted bright white cabinets and a smooth, modern finish — without replacing the cabinetry.
What Mancini Custom Painting did and how the family prepared:
Homeowner prep: Ramirez cleared all cabinet contents, labeled doors/drawers, removed hardware into labeled bags, and created a garage staging area for removed pieces.
Contractor process: Doors and drawer fronts were removed and taken to a controlled shop for spray finishing. Frames and jambs were prepped, repaired (two loose hinges and one worn glide replaced), sanded by vacuum-sanding, primed with a high-adhesion primer, and sprayed with cabinet-grade urethane enamel.
Timeline: 7 total days — Day 1 prep and removal, Days 2–4 shop spraying and curing, Days 5–6 re-hang and final touch-ups, Day 7 cleanup and homeowner walkthrough.
Outcome: The Ramirez kitchen received a durable, smooth white finish with new satin nickel hardware. Total cost was a fraction of full cabinet replacement, and the family reported minimal disruption because the work was staged and the crew cleaned daily.
This example shows why removal and shop spraying are often worth the investment for homeowners who want a top-rated, long-lasting finish.
When to call in professionals — and lead safety
If your cabinets were painted before the late 1970s or you suspect layers of old finish, mention it to your contractor. Older finishes can contain lead; safe handling requires special containment and disposal procedures. Your kitchen cabinet painter in Stillwater OK should have experience following lead-safe work practices or be able to recommend a certified abatement professional.
Final prep tips to save time and money
Decide on paint color and hardware before the job starts. Delays for color swaps add days and costs.
Keep a small box of essentials (plates, a pot, a few utensils, a coffee maker) to reduce disruption.
Ask for a written scope that lists who handles removal, repairs, and reinstallation.
Confirm warranty coverage for finish and workmanship.
FAQs
Q: Do I need to move out during cabinet painting?
A: For most projects you don’t have to move out, especially if doors are painted off-site. If the contractor is spraying onsite, temporary relocation may be advised for health and comfort. Discuss options with your painter.
Q: Should I replace old hardware before painting?
A: Replacing worn hardware is a small upgrade that improves the final look. If you’re undecided, keep existing hardware labeled so it’s easy to reinstall or swap later.
Q: Will painted cabinets last as long as new ones?
A: Properly prepped and finished painted cabinets can last many years. The key is professional prep, quality products, and the right application method.
Closing thoughts
A great cabinet refinishing project starts long before the first coat of paint. Thoughtful prep — emptying and labeling cabinets, removing hardware, degreasing, and coordinating with your contractor — reduces costs, speeds the schedule, and produces a professional result. If you’re searching for a dependable kitchen cabinet painter in Stillwater OK, clear communication and mutual planning with your contractor make the difference between a good finish and a finish that looks and performs like new for years.


